 推特登录
推特登录
# 1. 申请应用
注册并登录 Dashboard (opens new window)
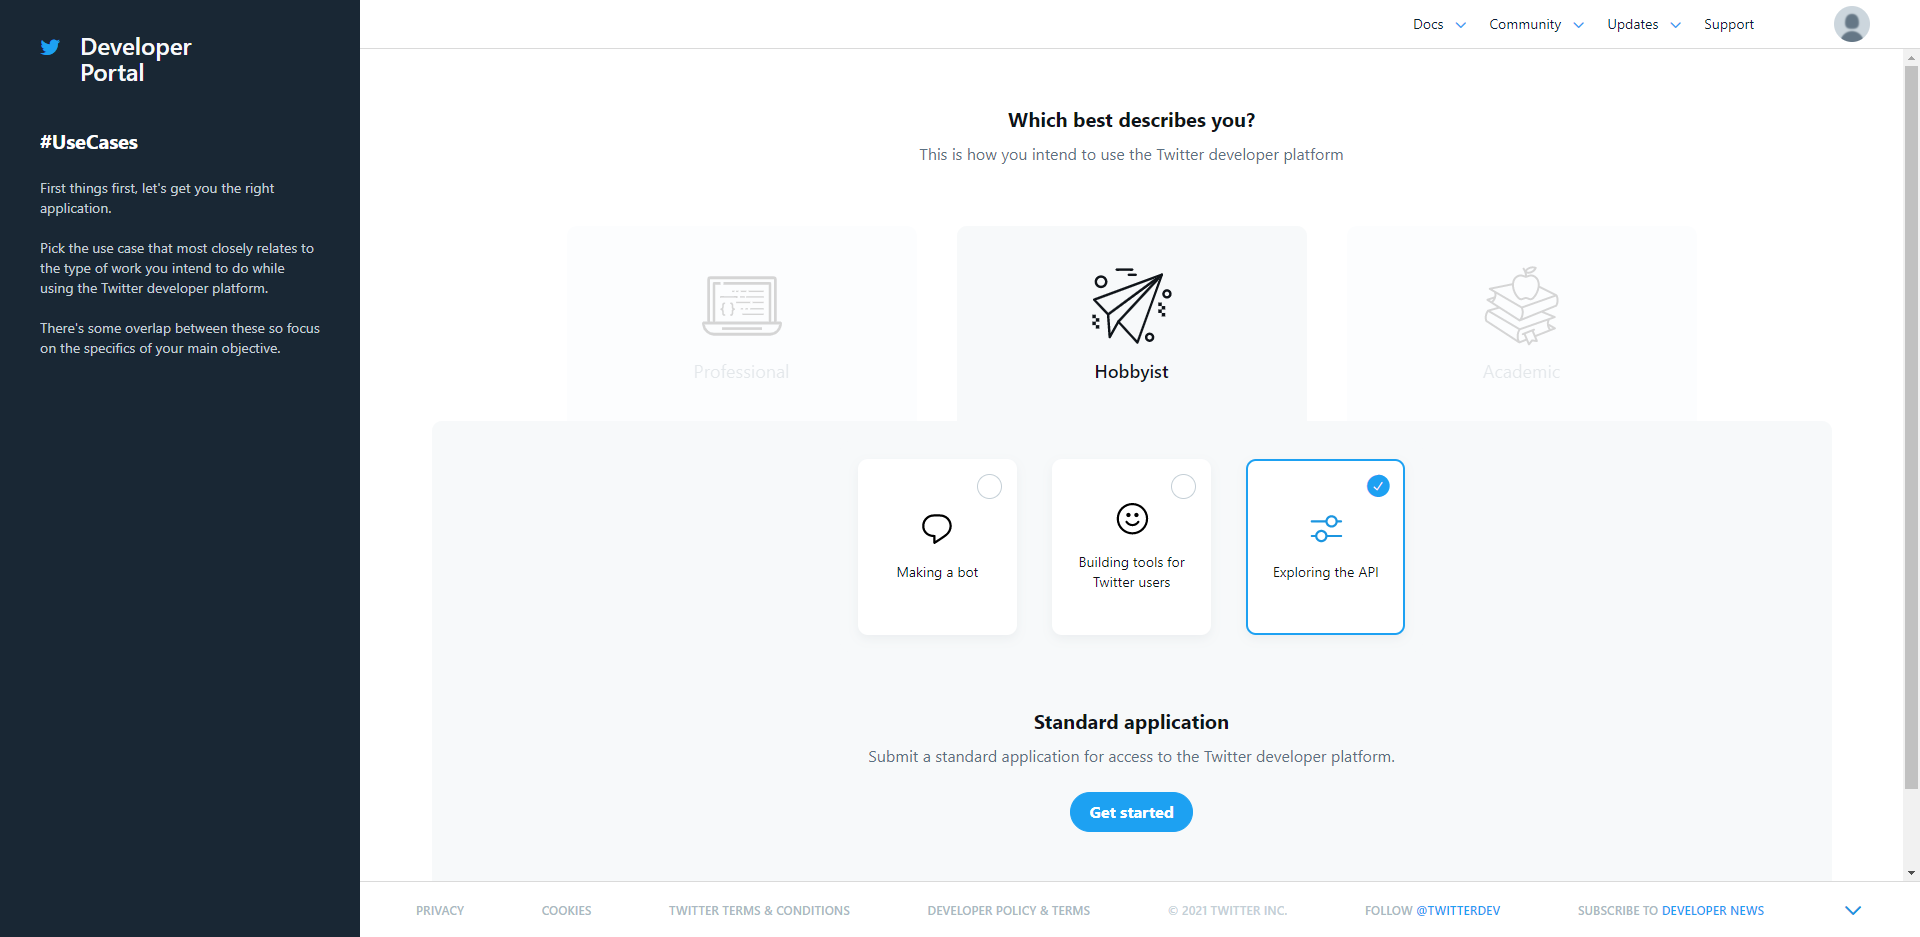
选择合适的类型,注册开发者账号:
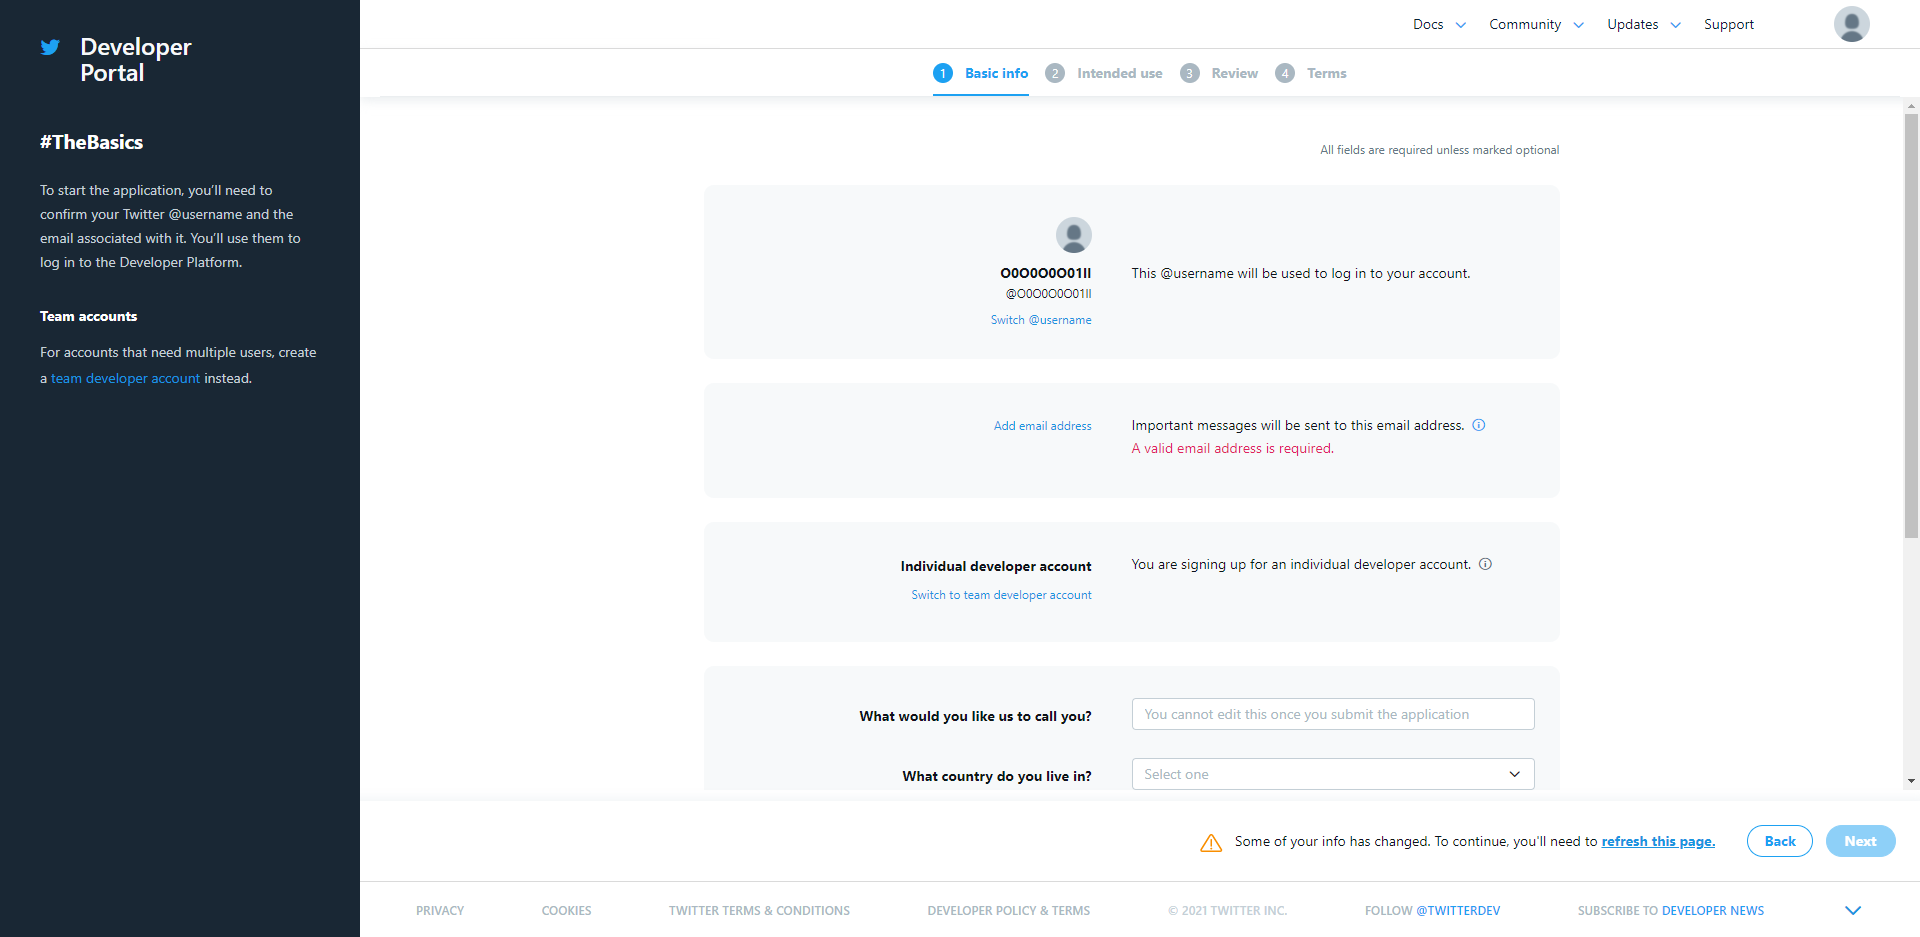
填入个人简要信息(如果账号没绑定邮箱,需要先绑定邮箱,然后再填写内容,否则绑定邮箱后,需要刷新此页面重新填写,比较耽误时间)
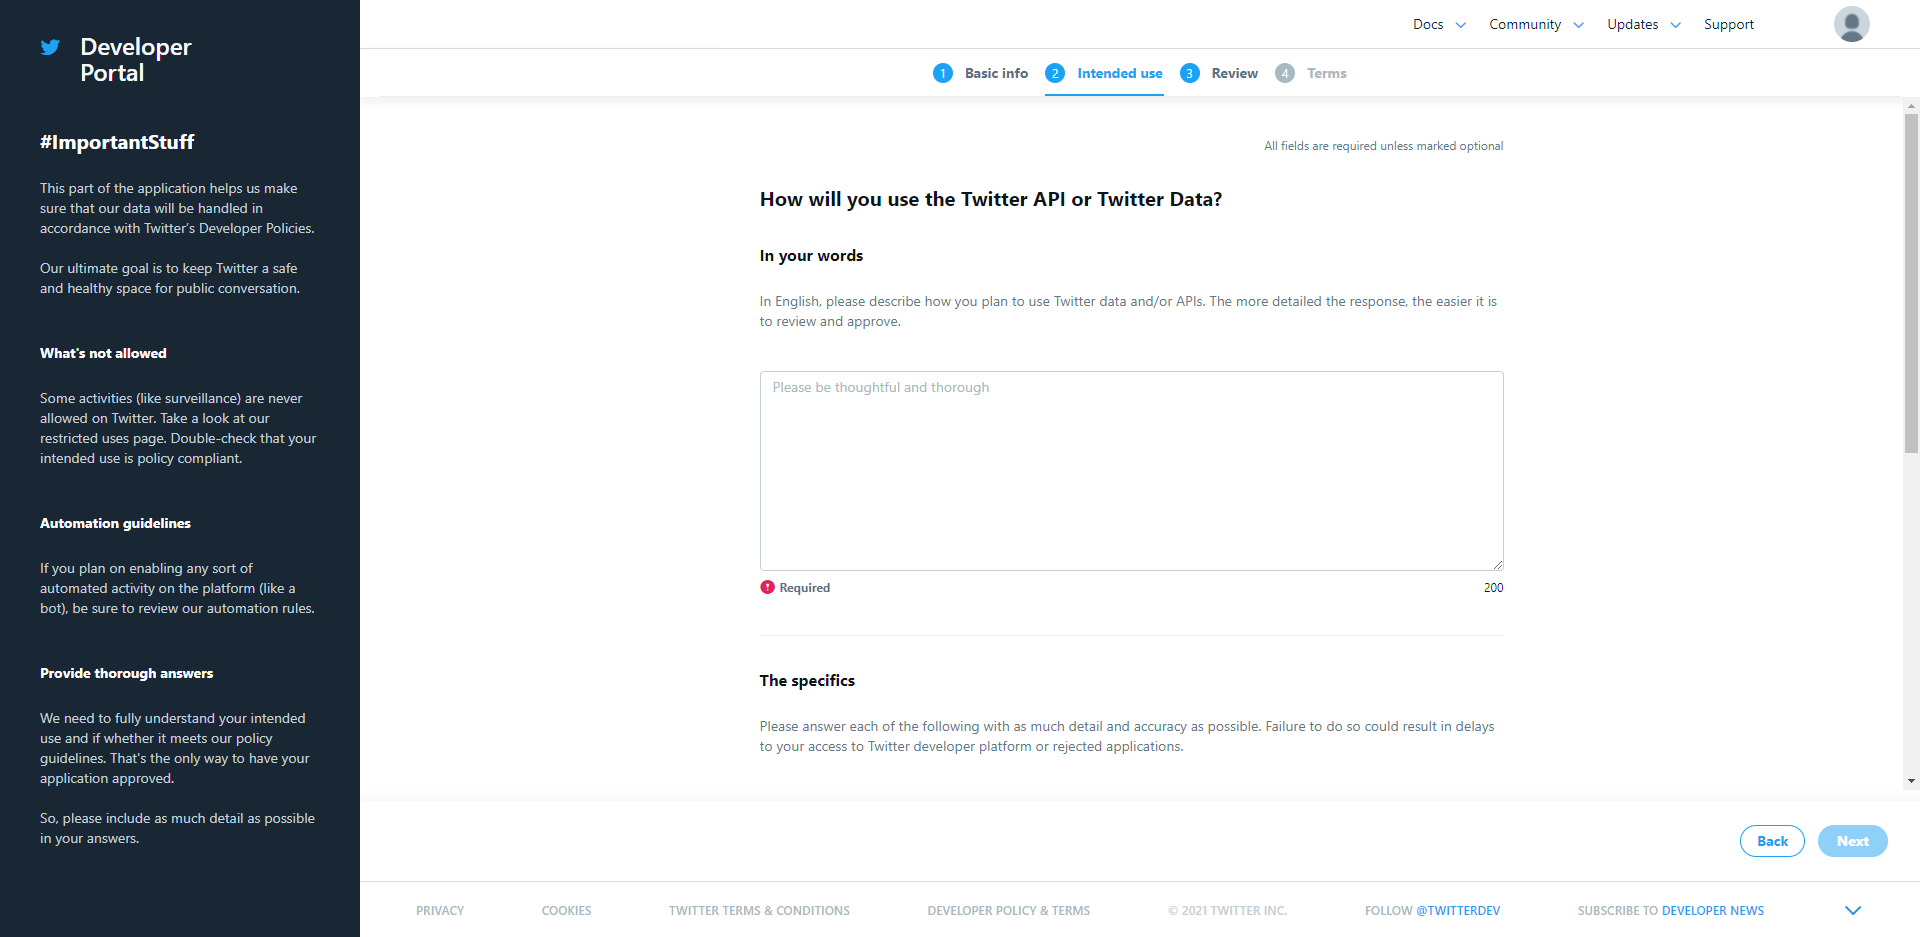
填写申请说明,按照实际情况填写,比如:研究 twitter 的第三方登录 API。越详细越好,有助于提高审核通过率
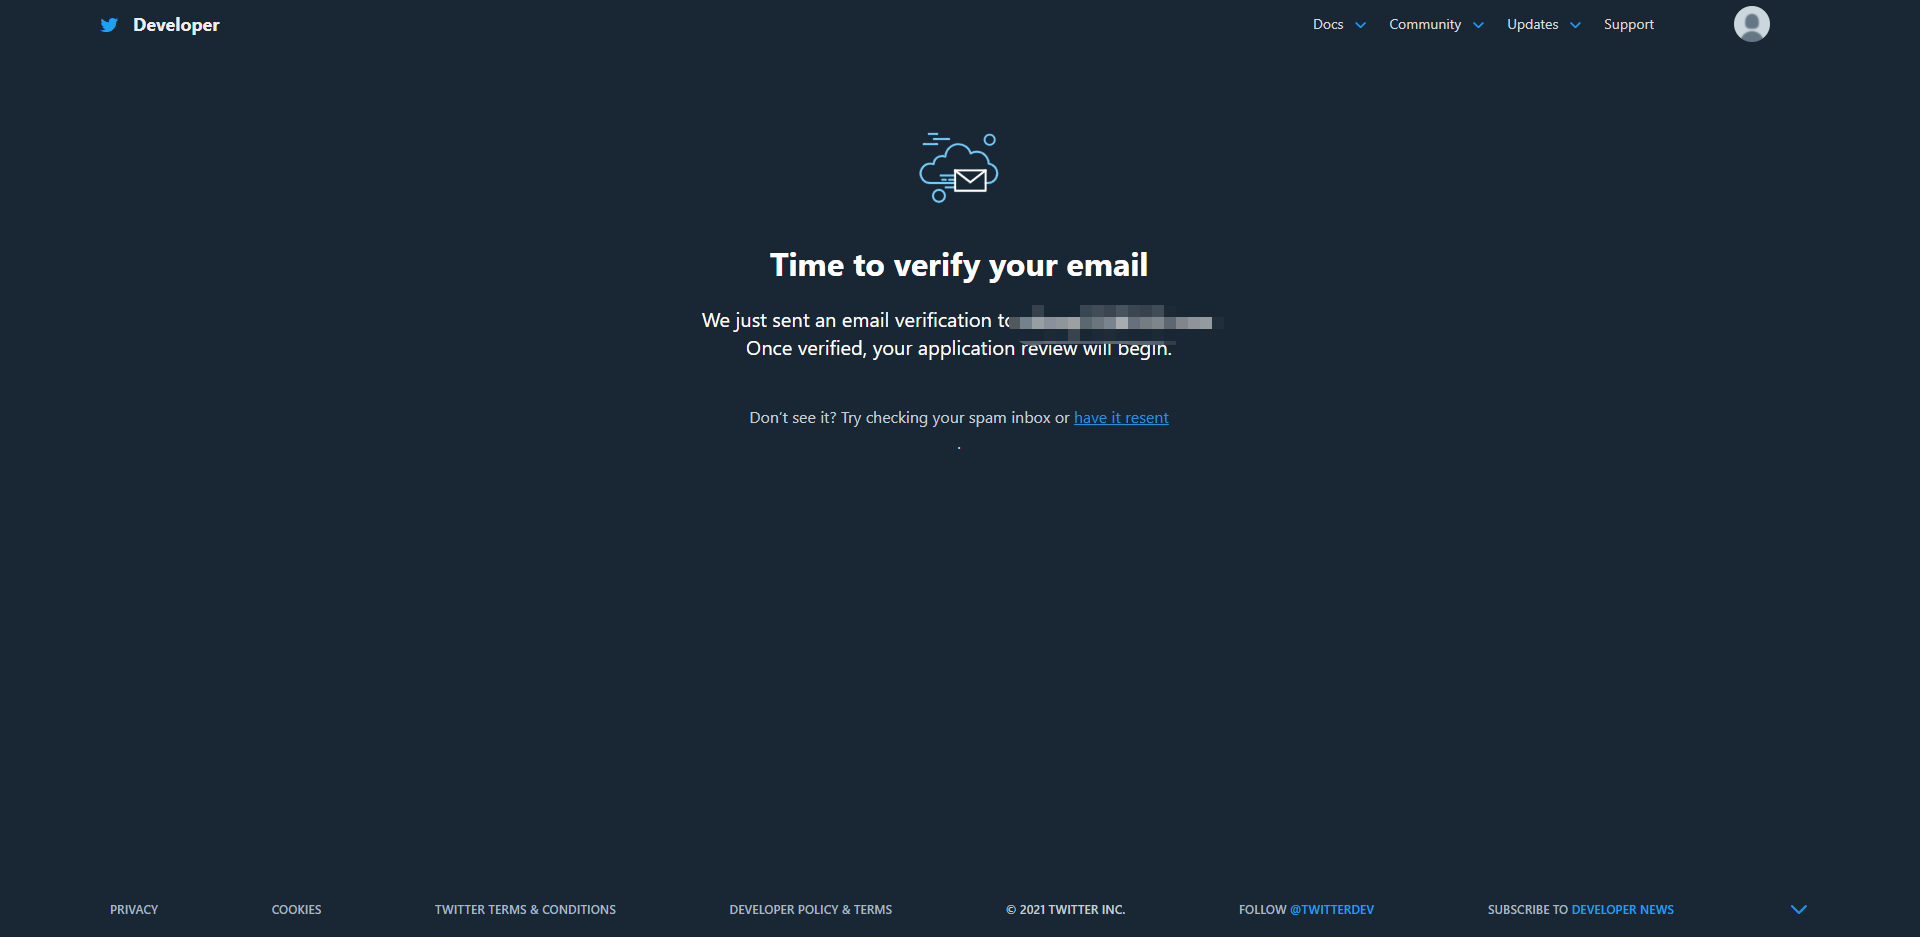
以上信息都填完后,会向绑定的邮箱发送一条验证邮件
copy以下三个信息:App ID、App Key和网站回调域。
友情提示:twitter现不支持个人用户创建应用
重要提示
“应用密钥”可保护你应用程序的安全,因此请确保其不会泄露!也不要与任何人共享你的“应用密钥”!!!
# 2. 集成JustAuth
# 2.1 引入依赖
<dependency>
  <groupId>me.zhyd.oauth</groupId>
  <artifactId>JustAuth</artifactId>
  <version>${latest.version}</version>
</dependency>
1
2
3
4
5
2
3
4
5
${latest.version}推荐使用最新版本
 ,可以在这儿 (opens new window)获取最新的版本信息。
# 2.2 创建Request
// 国外平台 目前必须要手动配置代理
System.setProperty("proxyPort", "10080");
System.setProperty("proxyHost", "127.0.0.1");
AuthRequest authRequest = new AuthTwitterRequest(AuthConfig.builder()
                .clientId("App ID")
                .clientSecret("App Key")
                .redirectUri("网站回调域")
                .build());
1
2
3
4
5
6
7
8
2
3
4
5
6
7
8
注意
所有国外平台都无法直接通过java进行访问API,目前simple-http (opens new window) Release版本,暂不支持添加代理,所以目前需要手动开启代理。
代理开启的方式:
System.setProperty("proxyPort", "10080");
System.setProperty("proxyHost", "127.0.0.1");
1
2
2
以上代码可以在声明 AuthRequest 时创建,也可以全局执行。
本地如果支持科学上网,就用自己本地的代理端口即可,如果不支持科学上网,可以去网上找一些免费的代理IP进行测试(请自行操作)。
# 2.3 生成授权地址
我们可以直接使用以下方式生成第三方平台的授权链接:
String authorizeUrl = authRequest.authorize(AuthStateUtils.createState());
1
这个链接我们可以直接后台重定向跳转,也可以返回到前端后,前端控制跳转。前端控制的好处就是,可以将第三方的授权页嵌入到iframe中,适配网站设计。
# 2.4 以上完整代码如下
import me.zhyd.oauth.config.AuthConfig;
import me.zhyd.oauth.request.AuthTwitterRequest;
import me.zhyd.oauth.model.AuthCallback;
import me.zhyd.oauth.request.AuthRequest;
import me.zhyd.oauth.utils.AuthStateUtils;
import org.springframework.web.bind.annotation.PathVariable;
import org.springframework.web.bind.annotation.RequestMapping;
import org.springframework.web.bind.annotation.RestController;

import javax.servlet.http.HttpServletResponse;
import java.io.IOException;


@RestController
@RequestMapping("/oauth")
public class RestAuthController {

    @RequestMapping("/render")
    public void renderAuth(HttpServletResponse response) throws IOException {
        AuthRequest authRequest = getAuthRequest();
        response.sendRedirect(authRequest.authorize(AuthStateUtils.createState()));
    }

    @RequestMapping("/callback")
    public Object login(AuthCallback callback) {
        AuthRequest authRequest = getAuthRequest();
        return authRequest.login(callback);
    }

    private AuthRequest getAuthRequest() {
        // 国外平台 目前必须要手动配置代理
        System.setProperty("proxyPort", "10080");
        System.setProperty("proxyHost", "127.0.0.1");
        return new AuthTwitterRequest(AuthConfig.builder()
                .clientId("App ID")
                .clientSecret("App Key")
                .redirectUri("网站回调域")
                .build());
    }
}
1
2
3
4
5
6
7
8
9
10
11
12
13
14
15
16
17
18
19
20
21
22
23
24
25
26
27
28
29
30
31
32
33
34
35
36
37
38
39
40
2
3
4
5
6
7
8
9
10
11
12
13
14
15
16
17
18
19
20
21
22
23
24
25
26
27
28
29
30
31
32
33
34
35
36
37
38
39
40
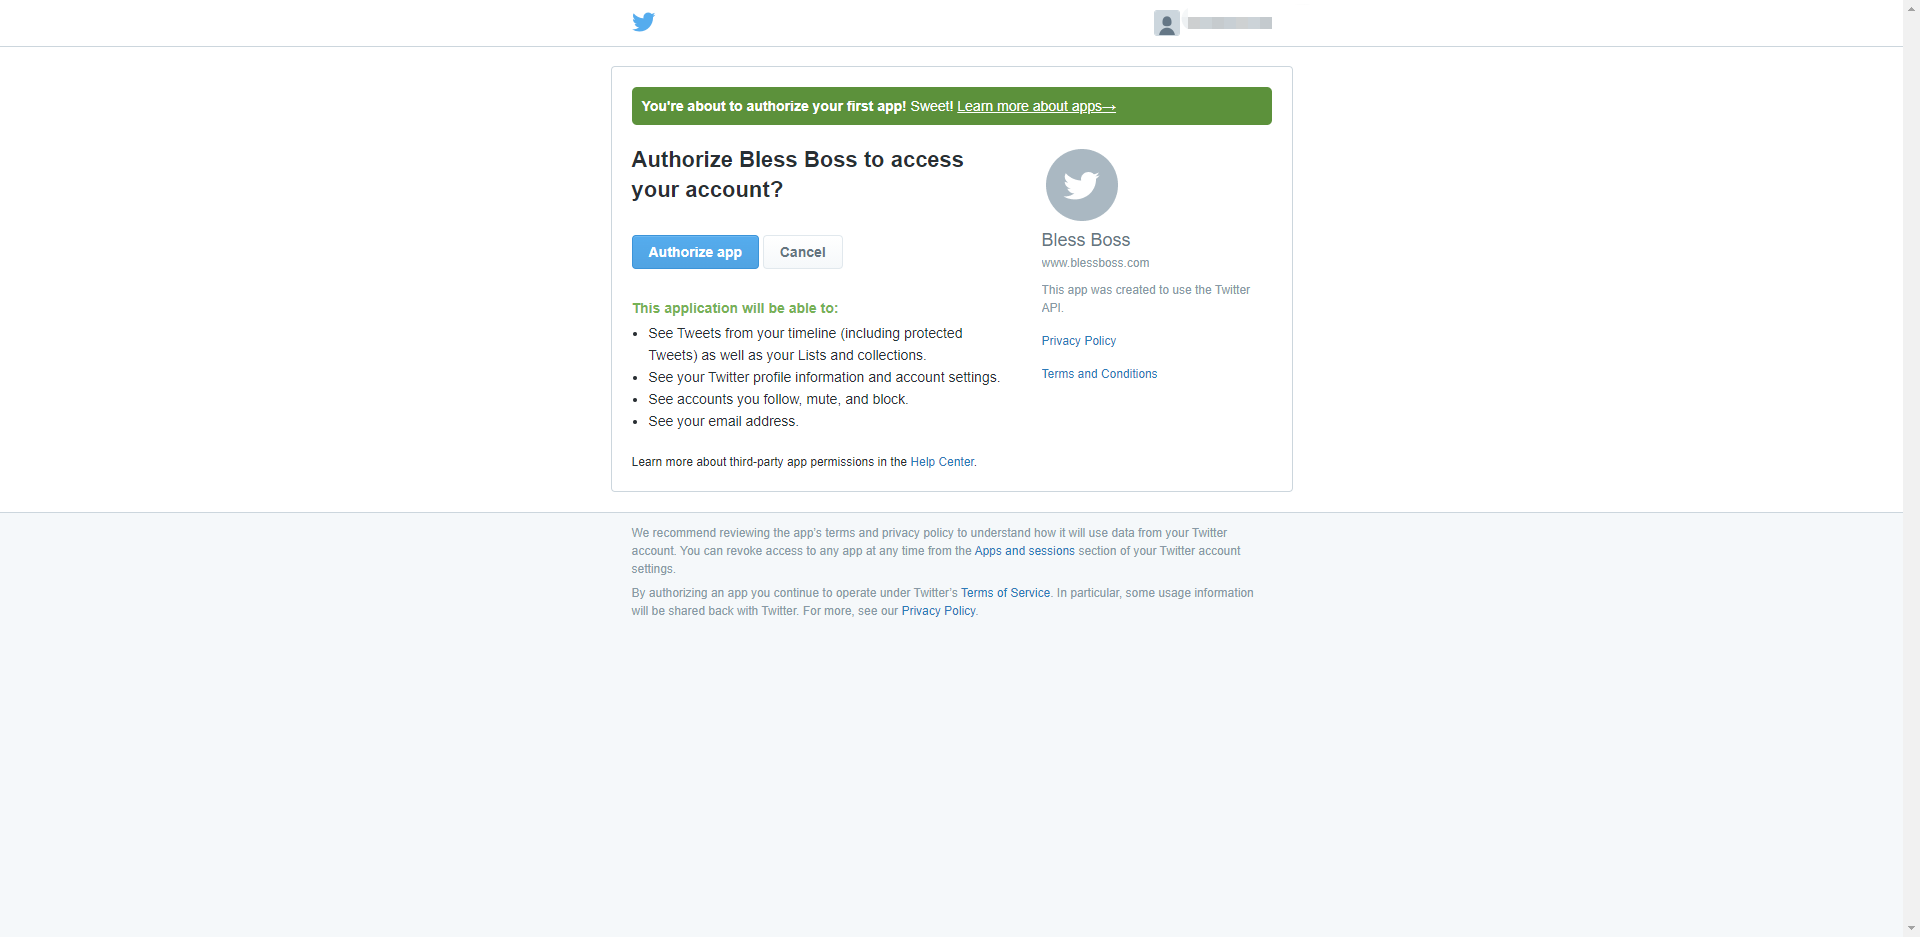
# 2.5 点击 twitter 登录
# 3. 推荐
官方推荐使用 JustAuth-demo (opens new window) 示例项目进行测试。
使用步骤:
- clone: https://github.com/justauth/JustAuth-demo.git (opens new window)
- 将上面申请的应用信息填入到
RestAuthController#getAuthRequest方法的对应位置中:
- 启动项目,访问 http://localhost:8443 (opens new window)
- 选择对应的平台进行授权登录

- 登录完成后,可以访问http://localhost:8443/users (opens new window)查看已授权的用户

注意
- 如果直接使用 JustAuth-demo 项目进行测试,那么在配置测试应用的“回调地址”时要严格按照以下格式配置:
http://localhost:8443/oauth/callback/{平台名} - 平台名参考
JustAuthPlatformInfo枚举类names
编辑 (opens new window)
Last Updated: 2024/09/01, 18:42:02